


Tools required:
- Garden fork;
- Rake;
- Shovel;
- Wheel barrow;
- Tiller/Rotovator (optional for large compacted areas);
- A number of scaffold/timber boards sufficiently wide to cover the length/width of the proposed lawn;
- A sharp knife (A cheap retractable bladed craft knife is ideal);
- A heavy sledge hammer or tamp for banging down boards.
Preparation
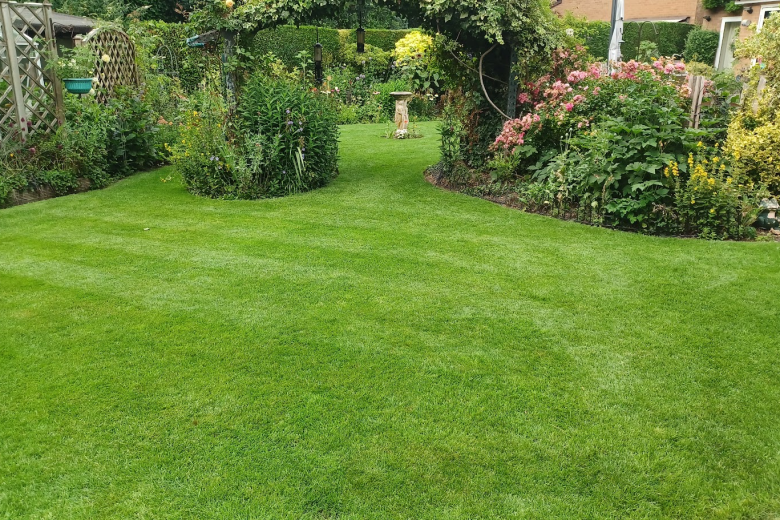
As with any job, proper preparation is the key to great results. A perfectly level and well prepared sub-base will result in a beautiful lawn for years to come.
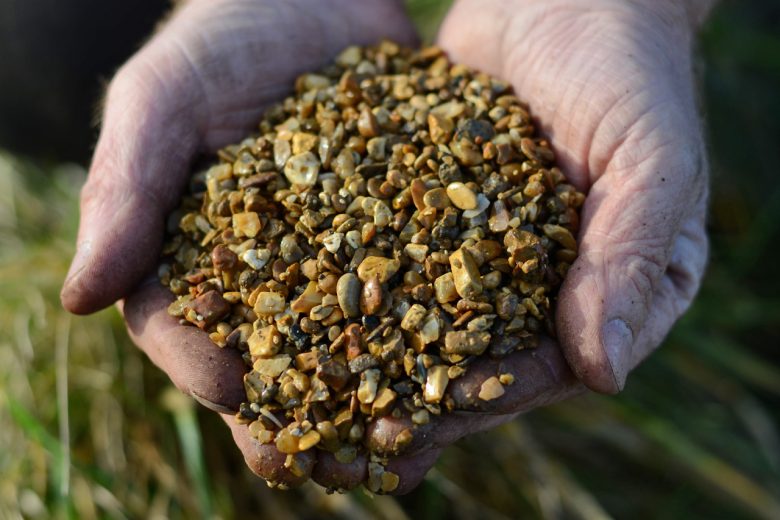
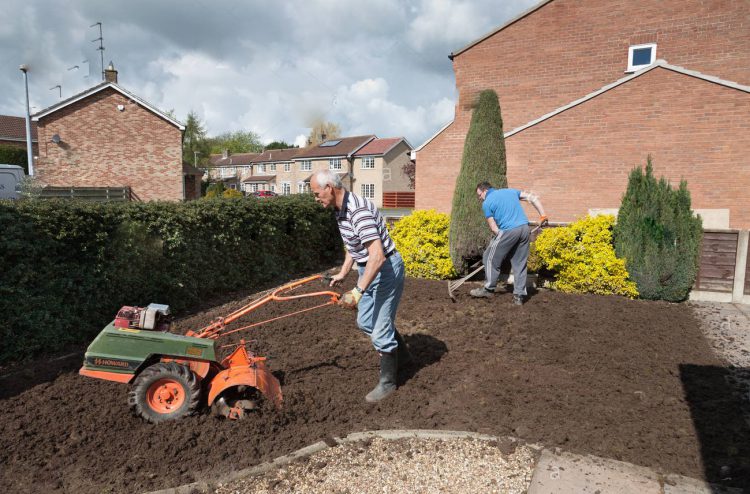
- Prepare the sub-base. Carefully level the area on which the new turf is to be laid removing any weeds, large stones or roots. It is at this stage that it’s important to consider how water will drain and to alleviate any areas of soil compaction with a fork or tiller/rotovator. For best results we would recommend that the prepared lawn sub-base should be approximately 30mm lower than the proposed level of the finished lawn. The finished sub-base should be firm enough to take the weight of a heavy person without their feet sinking into the ground.
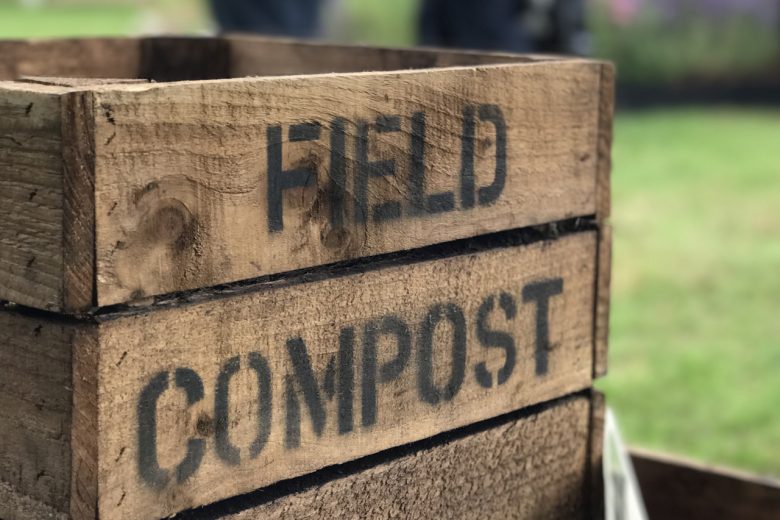
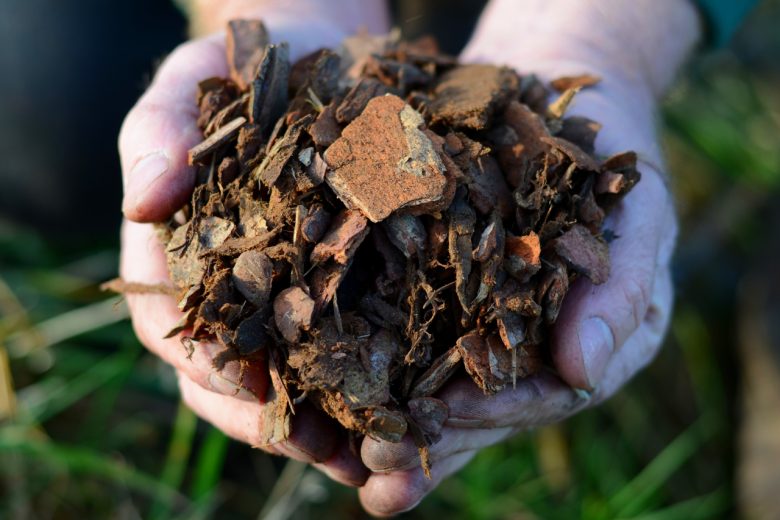
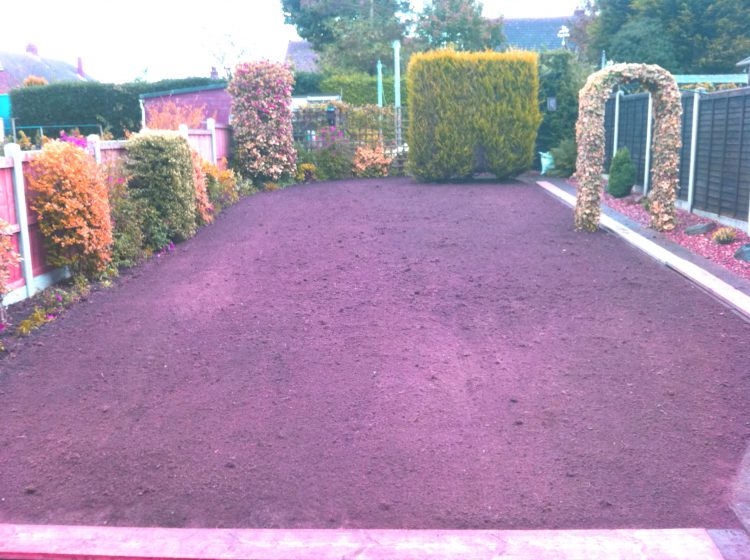
- Prepare the root-zone. Add a 25mm layer of our Field No.21 High Quality Planting Topsoil. This should be carefully levelled using the back of a rake or can be screeded level using a section of straight 100x50mm timber. Once levelled the root-zone should not be walked on and is ready for the turf to be laid.
Installation
It is important to avoid walking directly on the turf you have laid; this is where the scaffold (or similar timber) boards come into play. Always work from the boards as you are laying the turf as this will both help bed the turf down and avoid the creation of divots in the root-zone from foot prints.
- When your turf arrives it is important to lay it as soon as possible. If you are not able to use the turf straight away we recommend that you unroll it and keep it well watered until you are ready to lay it.
- Start by laying the turf around the edges of your lawn to form a frame. This will help retain moisture in the lawn whilst the root-zone develops. It will also provide a good straight edge to cut the turf against as you lay it. If your lawn edges are not straight you can introduce curves by folding the inside edge of the turf so the outside edge follows the required line. Once you have created the desired curve simply cut down the centre of the fold and lay one of the flaps you have created on top of the other. You can then use your knife to cut away the lower flap and bed down the top flap in the opening you have created.
- Once you have framed the lawn with turf you can then commence laying the centre. If your lawn has a straight edge it is often best to start laying the turf from the longest straight edge as this will reduce the number of cuts required. Start by laying your scaffold or timber boards in a line on top of the turf edge you have just laid. Next use your sledge hammer or tamp to bang the top of the board so as to bed the turf down. If you are using scaffold boards you will find they are approximately half the width of the turf rolls so you will need to roll them over and repeat the tamping process.
- Commence laying the turf end to end from one edge ensuring that joins are nice and snug. It is best to overlap joins by approximately 10mm and then gently pat the turf down so it pops down tightly against the adjoining roll. When you complete laying the first line of turf you will need to cut the last roll in against the framed edge. Next roll the boards over and commence tamping the line you have just laid.
- Take the off-cut from the last turf you have just laid, rotate it through 180° and use it to start creating the next line, working back in the opposite direction. By doing this it will mean that the turf joints are staggered and will also result in a nice striped effect once you are finished. Repeat this process until your new lawn is laid and bedded down.